How to Make Beef Jerky in an Electric Oven
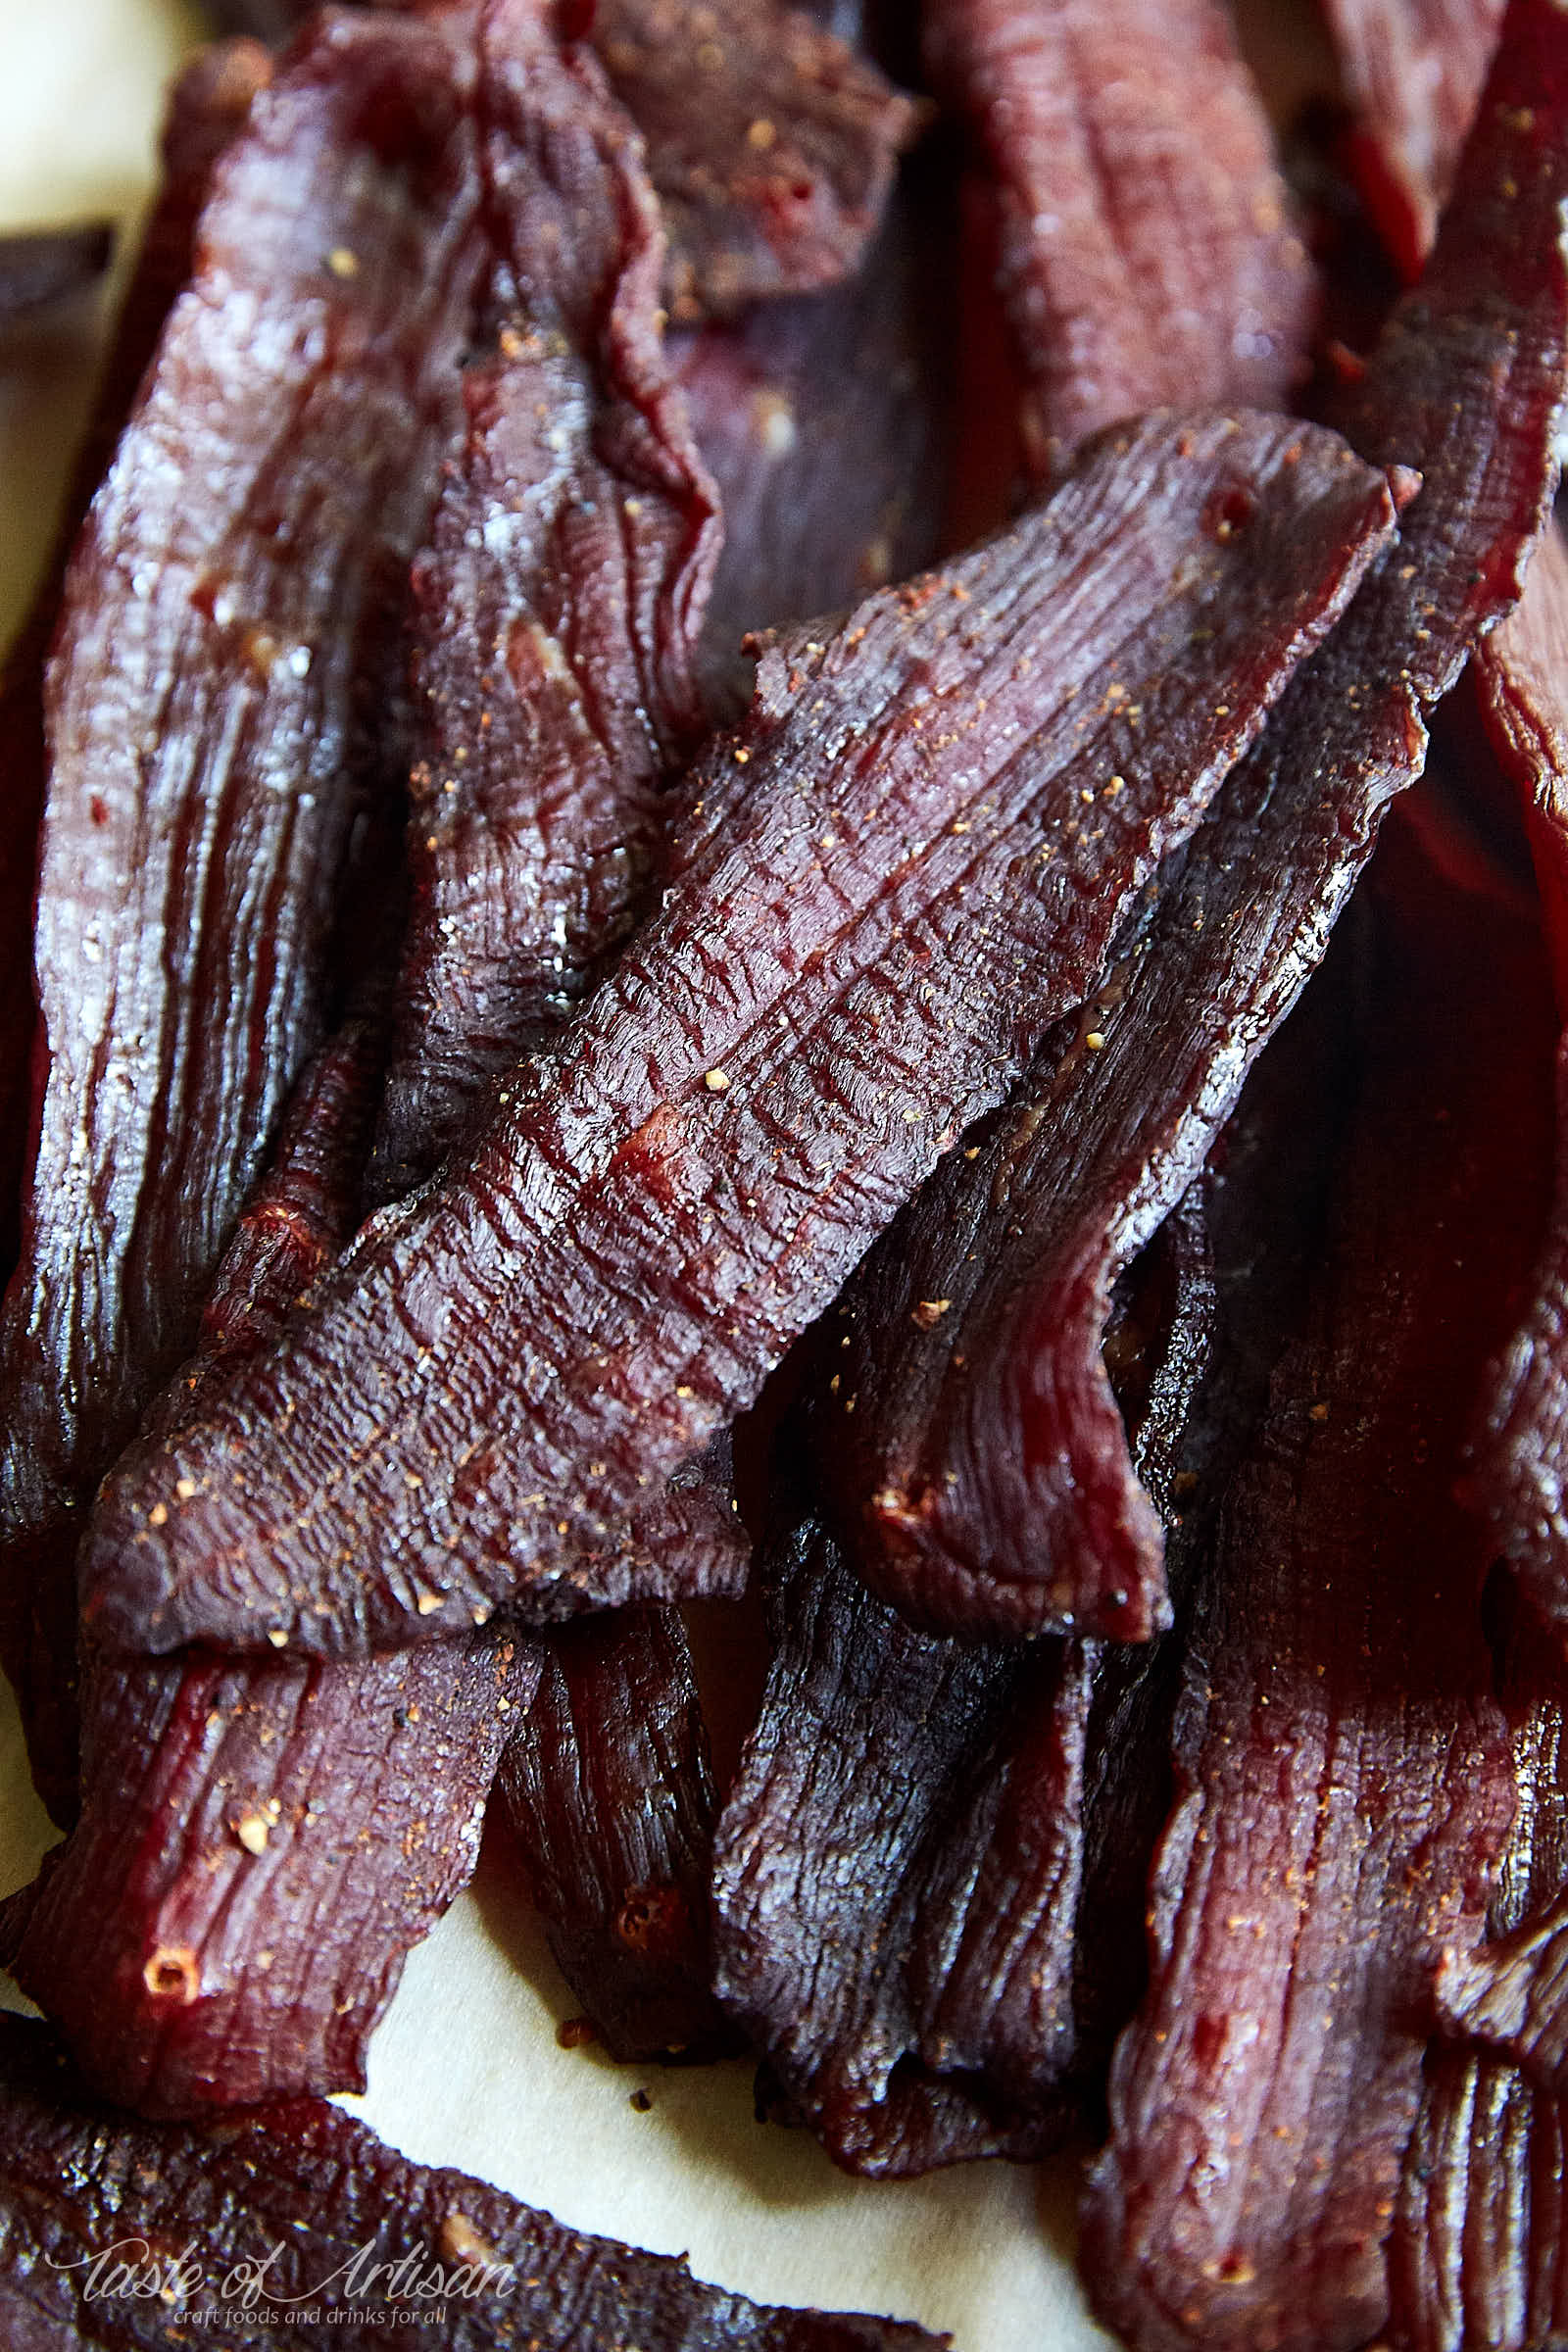
Oven-drying is probably the most readily accessible method for making beef jerky at home. I wouldn't say that it's the easiest method - a dehydrator wins here - but everyone has an oven in their kitchen. I've been experimenting with making beef jerky in my electric oven and I am happy to say that I have finally achieved the results with which I am quite happy.
When making beef jerky in the kitchen oven, you need to pay attention to these four important things:
- Meat selection
- Food safety
- Temperature
- Air ventilation and circulation
Selecting meat for beef jerky
There is no best meat for jerky. Any lean meat can be used to make it. I read somewhere that meat for jerky needs to be 93% lean or higher. This is because beef fat does not dry well and becomes rancid quickly. That said, nowadays we make beef jerky not for it's long shelf life without refrigeration but for its taste. In my house, a batch of jerky doesn't last long enough for fat to become rancid.
Fatty jerky, without a doubt, tastes awesome. It's also easier to chew. I tried it once from Big John's Beef Jerky - my favorite artisan beef jerky maker - and got hooked for good. However, making fatty jerky in the oven may be problematic as kitchen ovens' lowest temperature settings aren't low enough not to melt fat and make your jerky greasy.
Commonly used beef cuts for making jerky:
- Eye of round
- Flank steak
- Top round
- Bottom round
- Sirloin tip
- Chuck
- Skirt steak
It makes financial sense to go with the cheapest cut you can find.
Beef jerky and food safety
There are several methods that are commonly used to ensure that beef jerky is safe to eat. USDA recommends to "steam or roast meat to 160 °F before dehydrating it". The reason for doing that is to destroy any potential pathogenic bacteria (e.g. E.coli and Listeria) present in the meat. One way to achieve that is to place meat in an oven at 275F for 10 minutes.
Stanley Marianski in his Home Production of Quality Meats and Sausages book suggests, as an alternative, to boil the meat for 2 minutes in the marinade, if you have enough, or in a separately prepared brine.
What is Cure #1 (Pink Salt) and should I use it when making jerky?
You will find a number of recipes using pink salt or curing salt when making beef jerky. This is a necessary step when making dried or cured sausages to ensure that they are safe to eat. Curing salt, or Cure #1, contains a small amount of sodium nitrite, which helps prevent harmful bacteria growth. It also improves color of the meat (pink as opposed to grey) and enhances its flavor.
Cure #1, also known as pink salt, is regular salt and only 6.25% sodium nitrite. Typically, you would use 5 grams or 1 level teaspoon of Cure #1 per 5 pounds of meat.
Morton sells a different product called Tender Quick, which serves a similar purpose but the ratios used are different. Follow the instruction on the package to see how much of Tender Quick you need to add per specified amount of meat.
Drying temperature
Traditionally, beef jerky is dried at around 145F. In the kitchen oven, you will have to settle with the lowest setting available. Most kitchen ovens don't go lower than 170F or so. This will result in a slightly different texture of the jerky as compared to other production methods.
To make oven-dried beef jerky safe to eat, it will be initially heated to 160F in an oven at 275F. This process will take 10 minutes.
Air ventilation and circulation
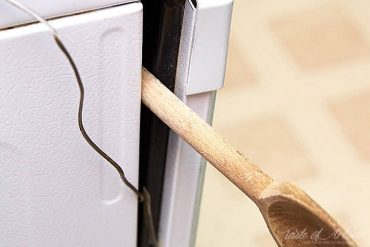
As common sense would suggest, drying beef jerky means removing moisture from the meat. Hence, it's important to ensure that your oven has an efficient way of removing moisture throughout the drying process. Oven vents are not sufficient for that. You will need to crack open the oven's door and keep it like that while you are drying jerky. A wooden spoon will come in handy for keeping the door ajar.
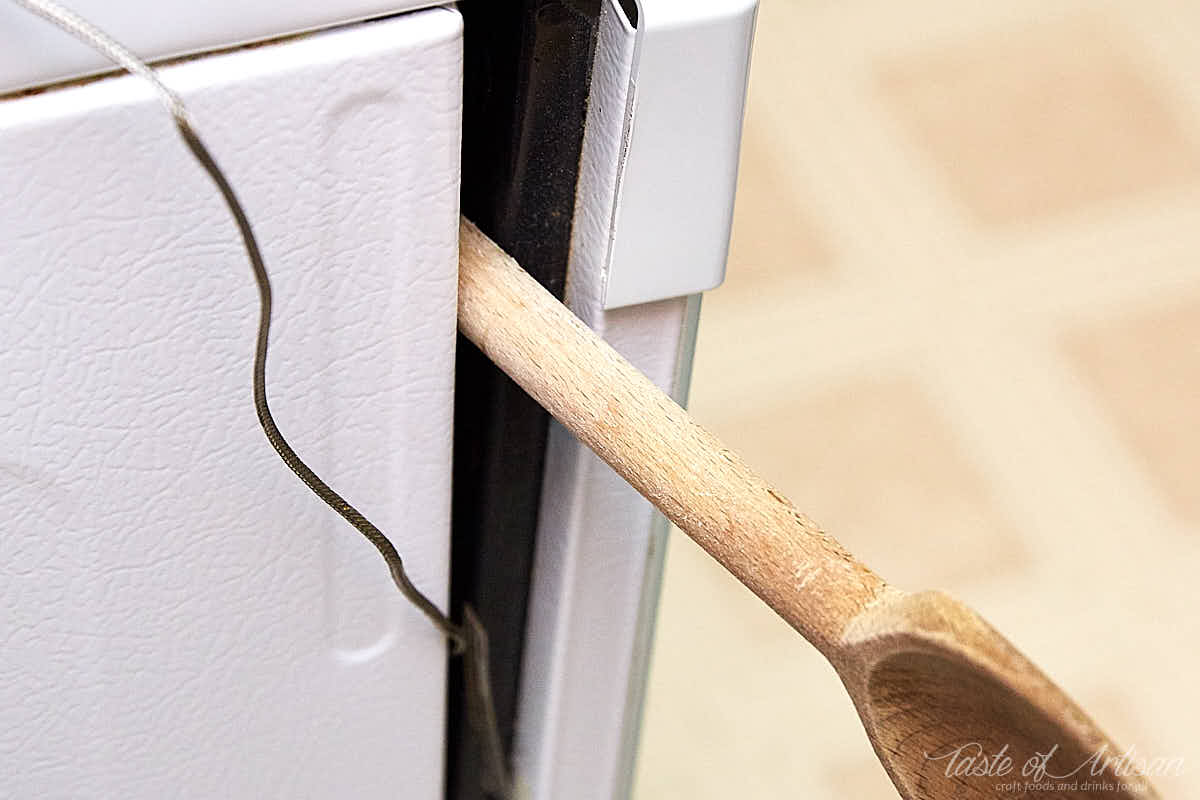
If your oven has a convection fan, it may be a good idea to use it as it will greatly expedite drying time. With the door open, you will need to find a way to the keep the button down for convection to work. Also, if the air flow is too strong, you may want to place something between the fan and the jerky to disperse the air stream from the fan.
- 3 lb meat (93% lean or higher)
For the marinade:
- 1 tsp red pepper flakes (plus more to taste)
- 1 Tbsp garlic powder
- 1 Tbsp onion powder
- 1 1/2 tsp freshly ground black pepper
- 1 cup Worcestershire
- 1 cup soy sauce (regular, not low sodium)
- 1 Tbsp liquid smoke (optional; use if you want to add smoky flavor)
- 1/2 tsp Cure #1 (heaping; optional but strongly recommended)
-
A lot of beef cuts come with a fat cap. Trim the fat off and cut the meat into manageable pieces that will be easy to slice. Then put the meat in a plastic bag and put in a freezer for a few hours.Freezing will firm it up and make it a easy to slice evenly.
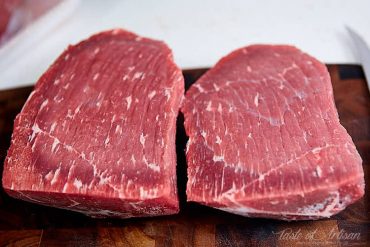
-
When the meat is firm, slice it about 3/16" - 1/4" thick. Thinner sliced meat tends to come out dryer and less chewy. Thicker will take a long time to dry.
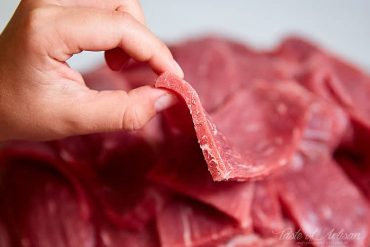
-
To make the jerky chewy, slice it along the grain.
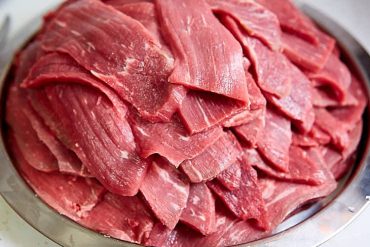
-
To make the jerky less chewy, slice it across the grain.
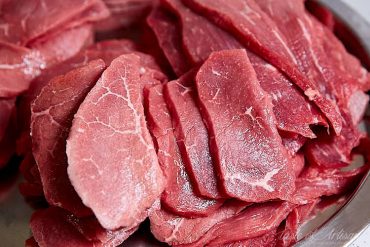
-
Combine all the ingredients for the marinade in a large Ziploc bag and shake.
-
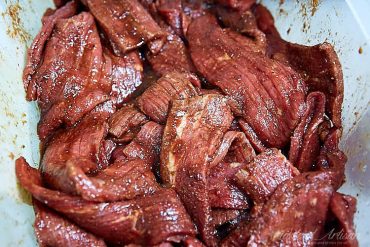
Add the meat slices, shake and massage the meat really well.
-
Refrigerate for 24 to 48 hours, flipping the bag and massaging the meat every 6-8 hours. Strictly speaking, marination is not necessary, but it makes jerky much more flavorful inside out and tenderizes tougher beef cuts.
-
Remove one rack from the oven so you can start hanging the meat slices on it. Meanwhile, preheat oven to 300F.
-
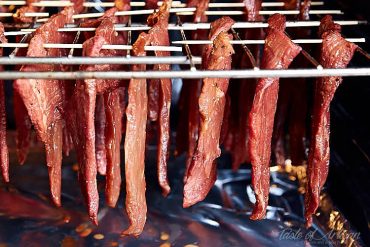
Hang the meat on the oven rack. The most efficient way is to hang the meat slices vertically, as shown on the picture below. This way you can have about 5 lbs of meat on one rack, properly spaced out.
-
Once the oven is preheated to 300F, bring the meat in, close the oven door, turn the temperature down to 275F and bake the meat for 10 minutes. This will bring its internal temperature to the safe level of 160F.
-
Drop the temperature further to the lowest setting your oven can go, e.g. 170F. Crack open the oven door and insert a thick wooden spoon to secure it in that position.
-
After about 30 minutes, when the temperature in the oven has stabilized at its lowest setting, turn on the convection fan, if you oven has it. It will expedite the drying process. You will have to find a creative way to keep the button down to activate convection.
-
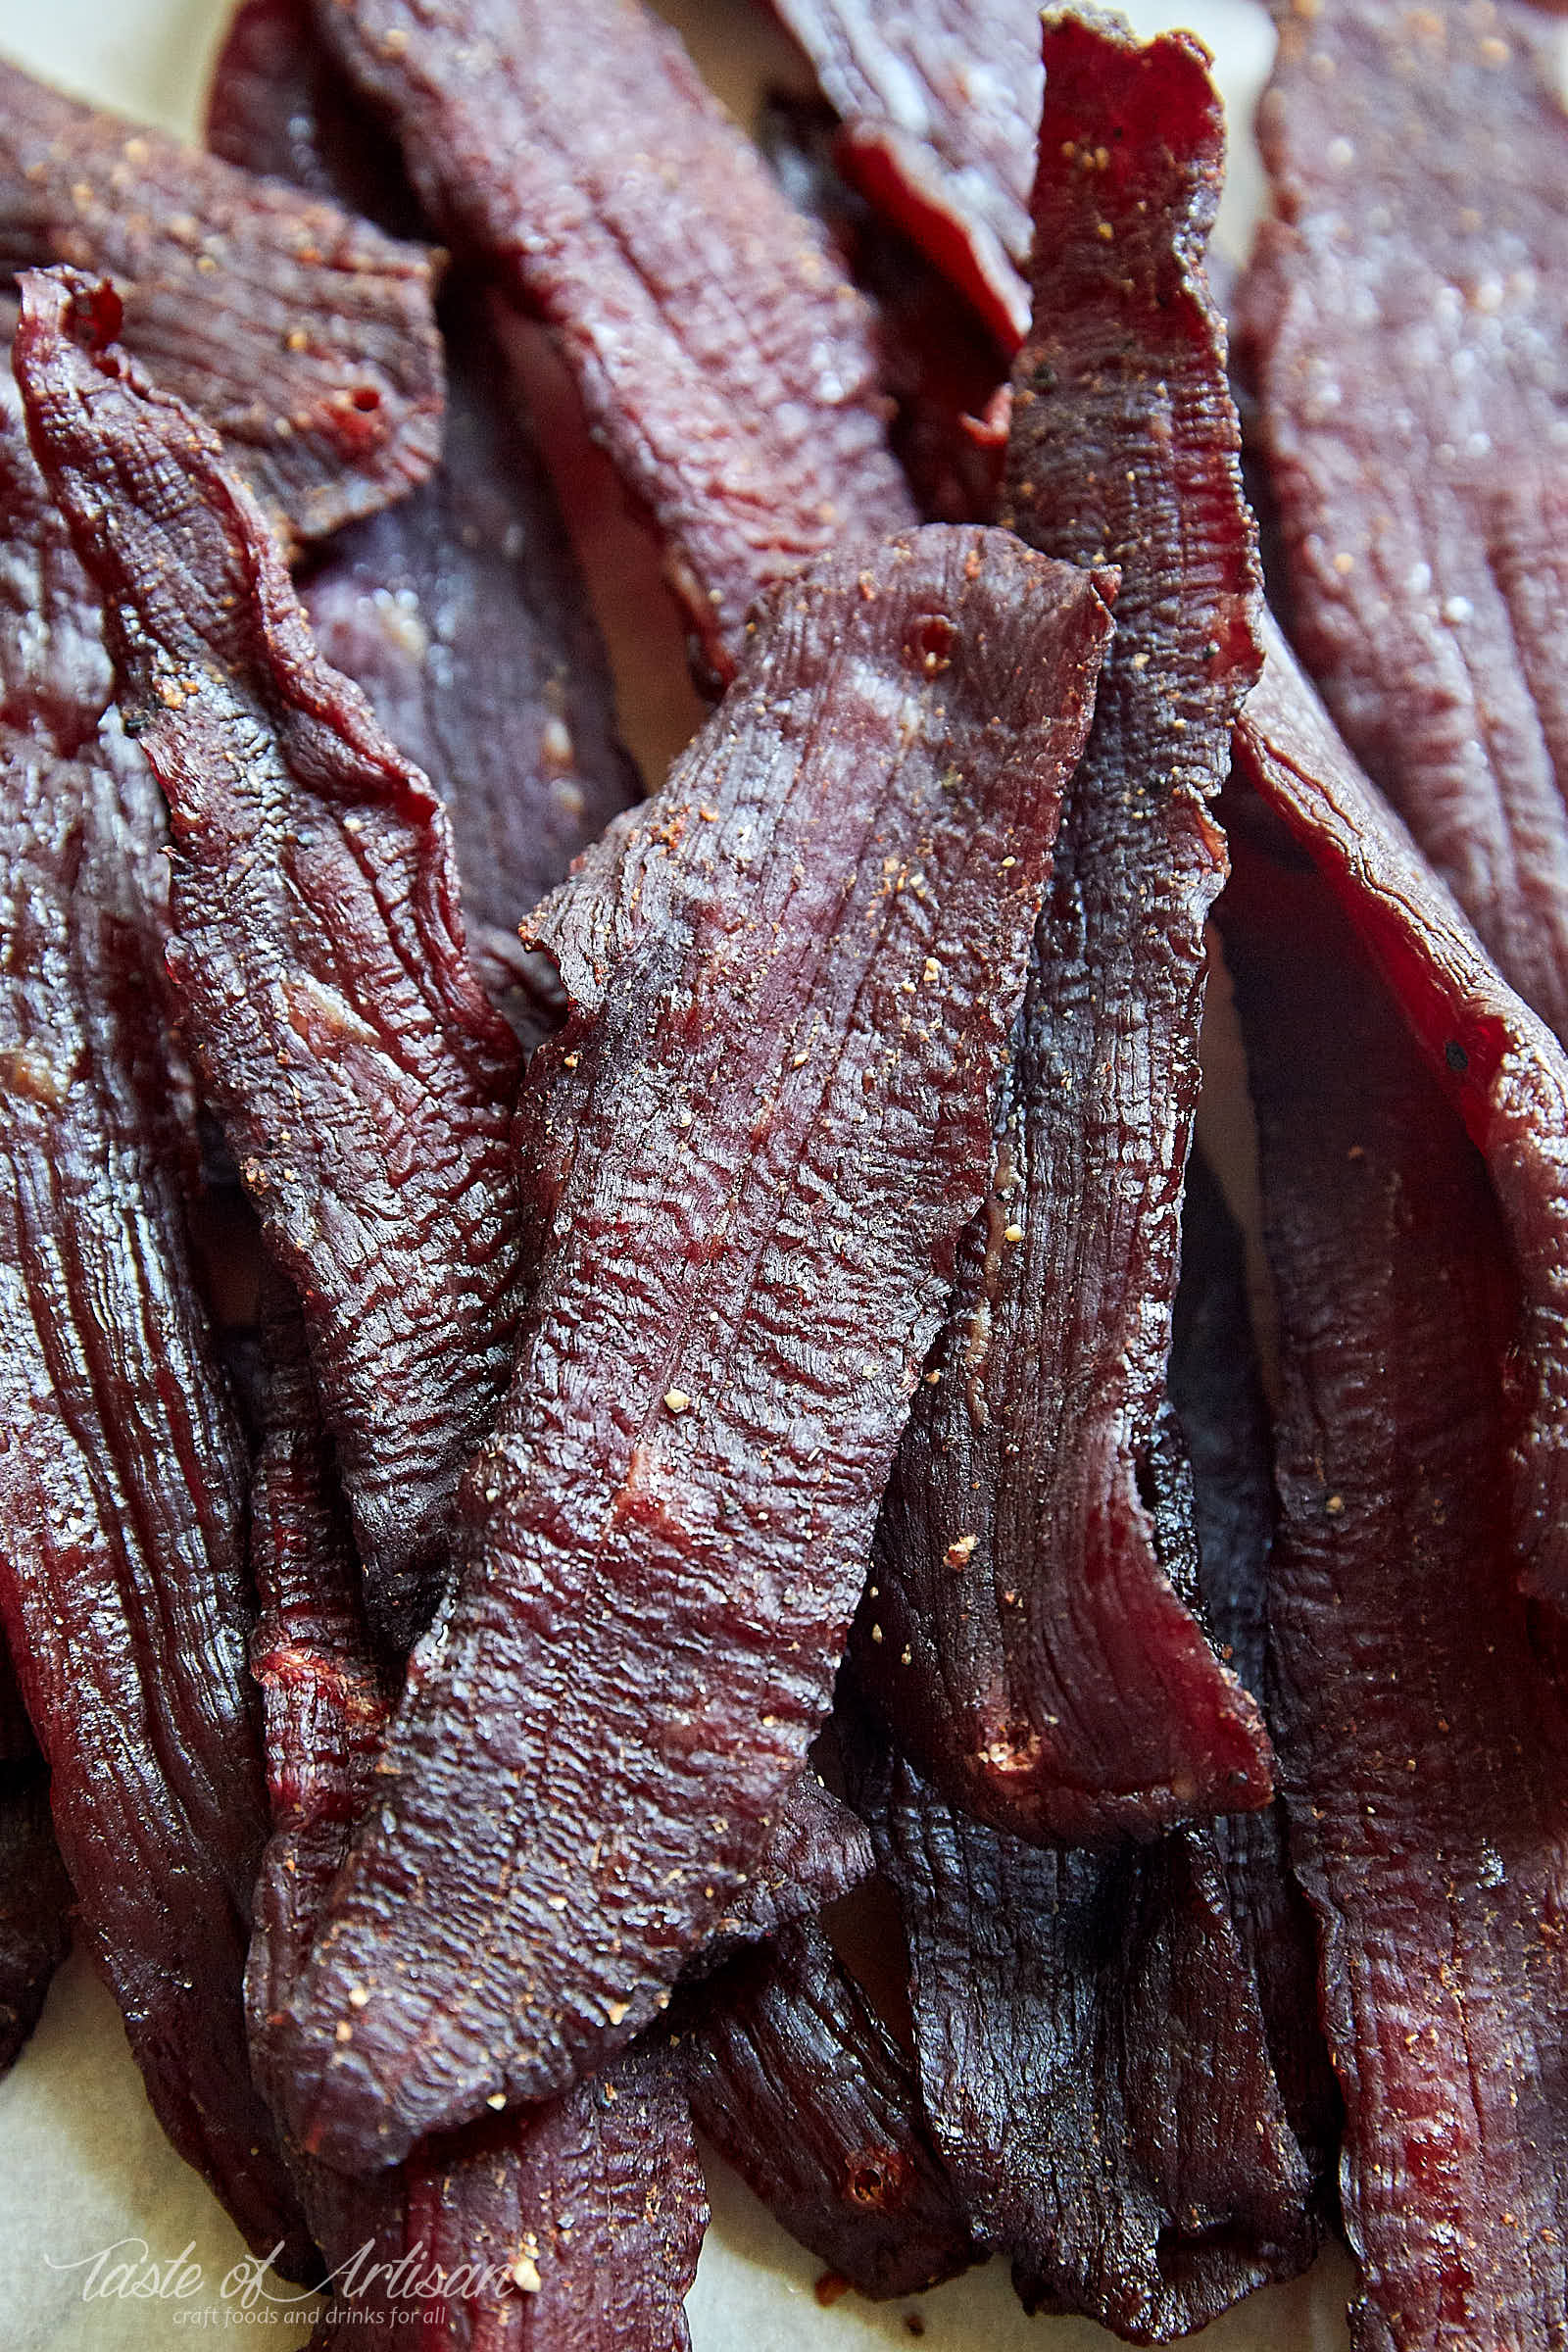
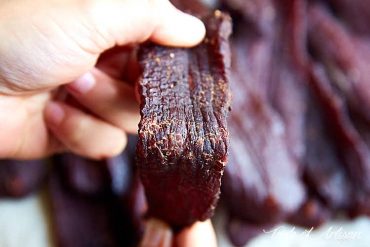
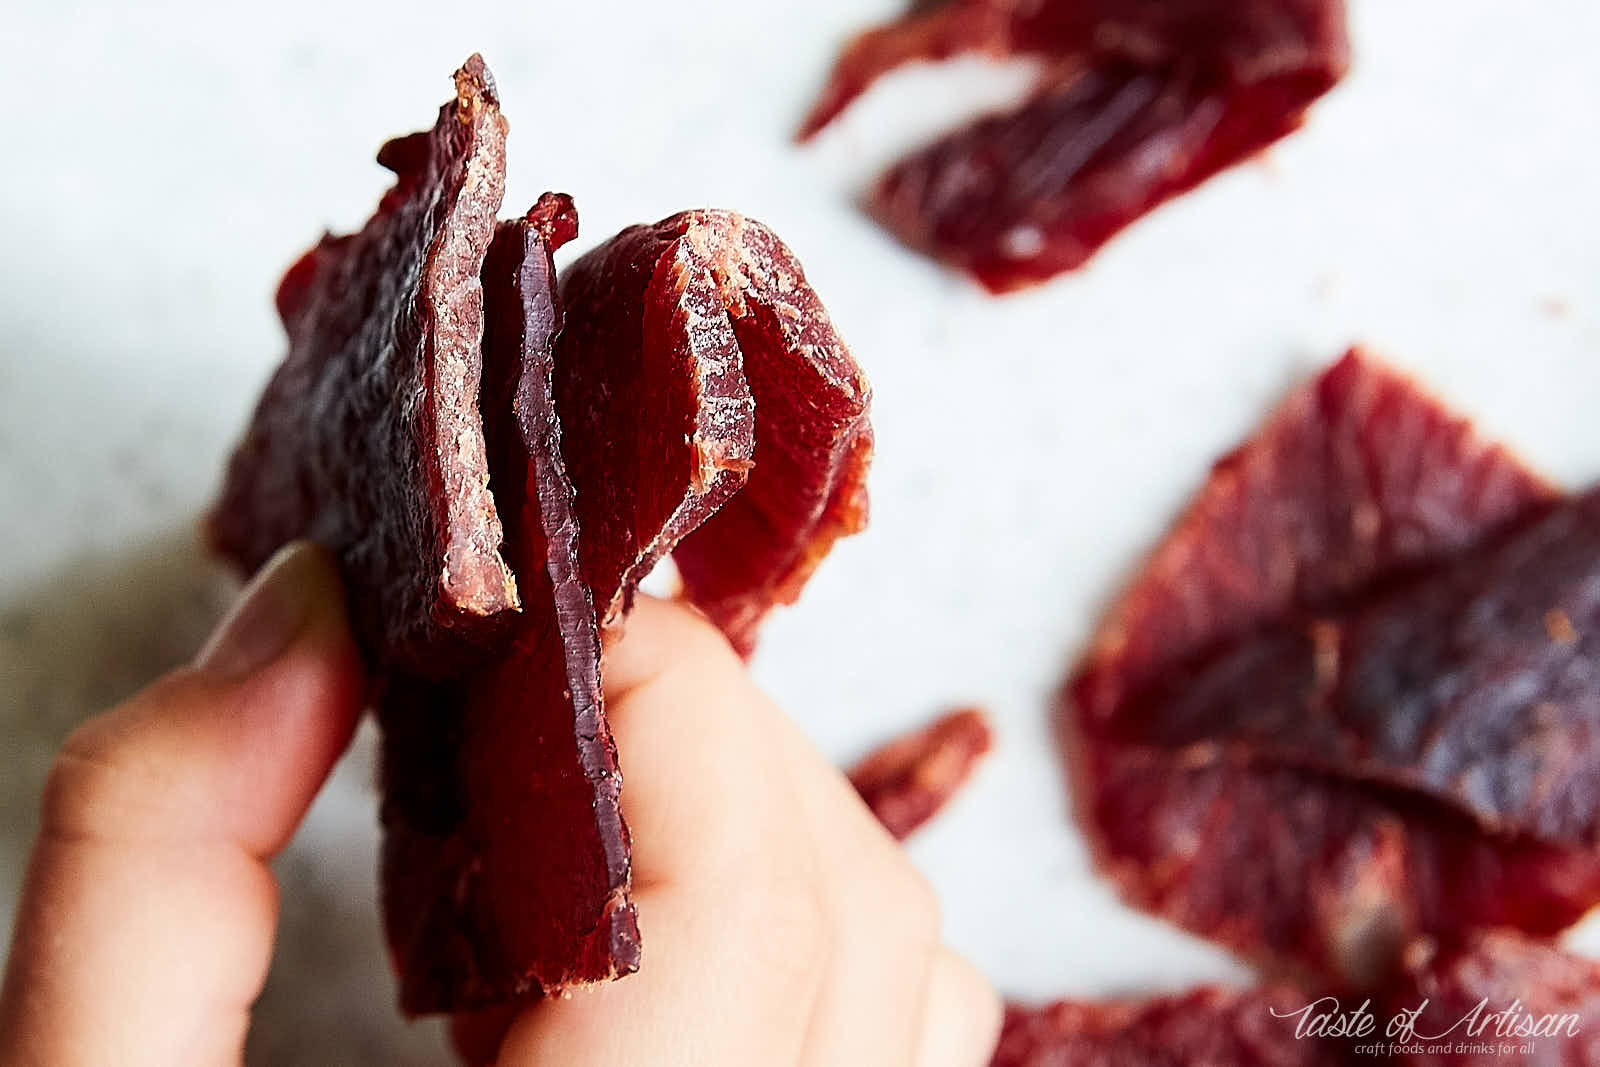
Continue drying jerky until it's ready. The jerky is dry enough when it bends without breaking, while surface develops cracks when you bend it. This will take anywhere from 4 to 8 hours, depending on whether you use convection and the thickness of meat slices.
For safety considerations I always use Cure #1, but I made it optional in the marinade recipe. You decide for yourself. Not only does it make jerky safer to eat, but it also improves its color and enhances the flavor.
Oven beef jerky - the results
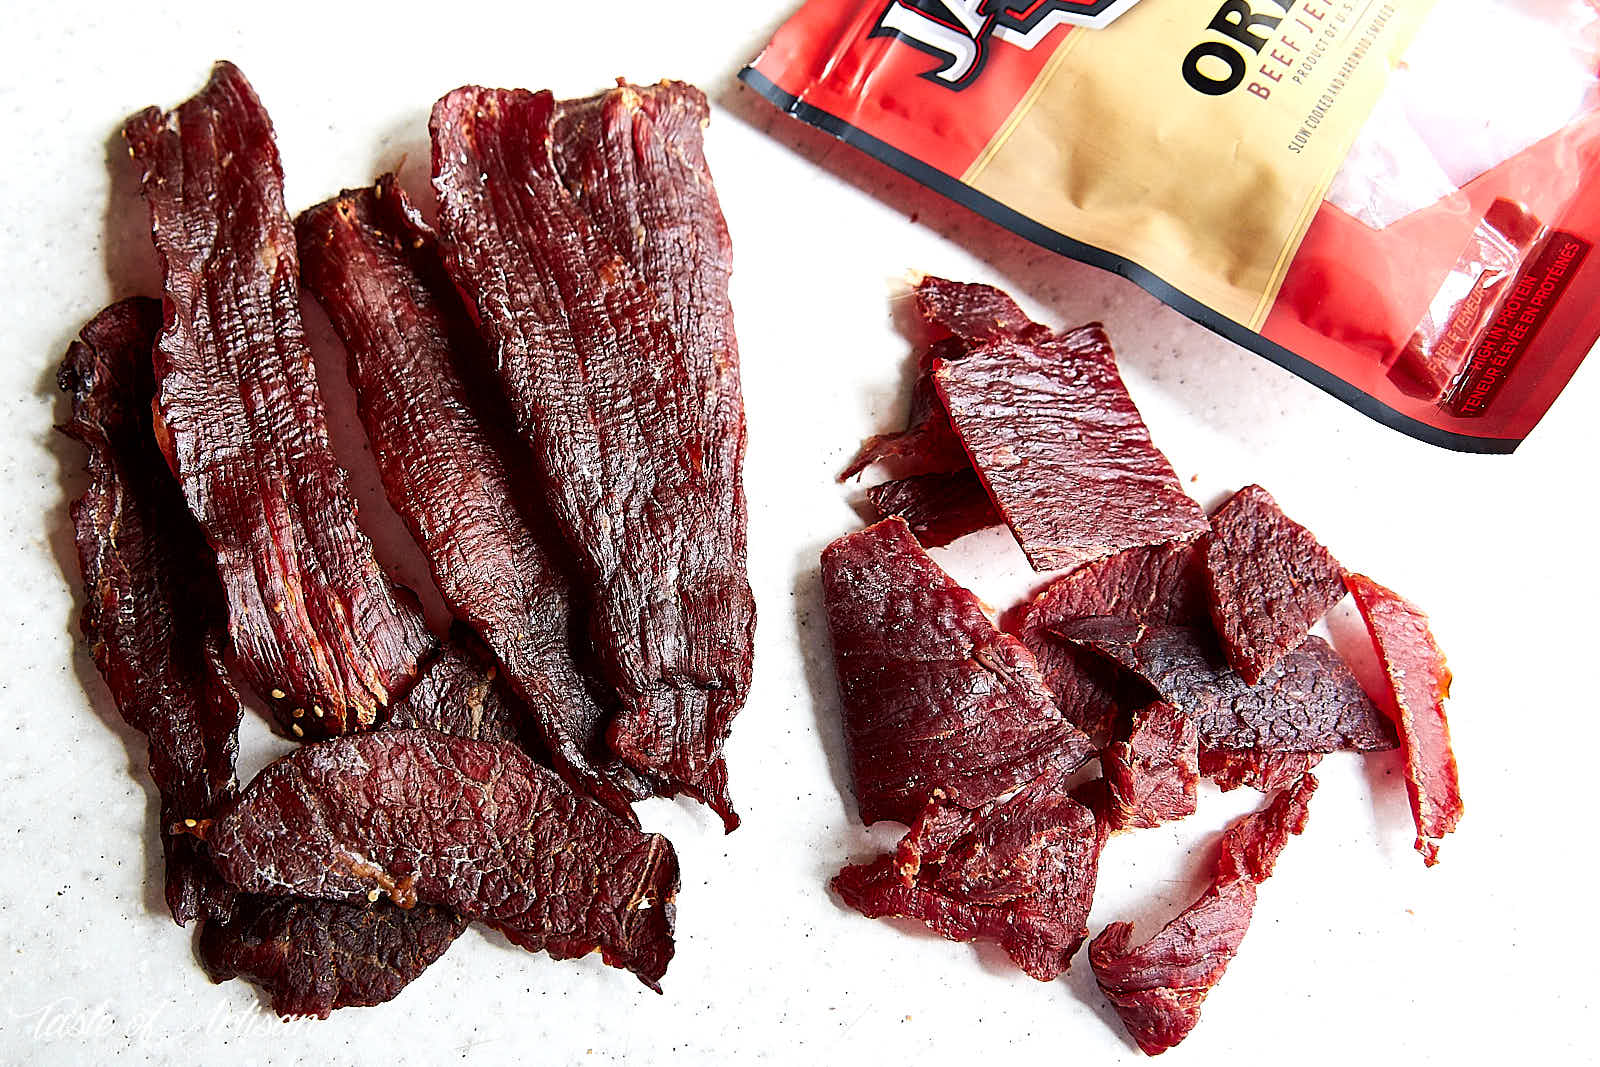
I did a direct comparison of oven-dried beef jerky to the famous Jack Links. The texture was quite similar. Jack Links jerky was a little more bendy and did not crack when bent. It also was softer and more moist due to a variety of additives that it uses. Oven-dried jerky wins in my book. It tastes more traditional and natural. I also preferred the flavor of the oven-dried jerky.
This post was updated on January 26, 2019
3.2.2925
Source: https://tasteofartisan.com/oven-beef-jerky/